Thank you for another great year! Cheers to 2019 —
Click Here to view the full size coupon.

Thank you for another great year! Cheers to 2019 —
Click Here to view the full size coupon.
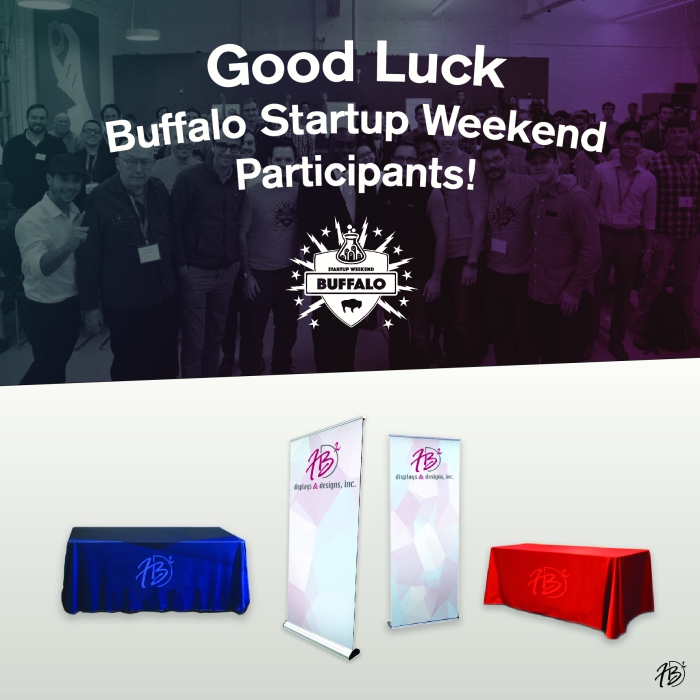
Buffalo Startup Weekend is back again this year! Over the next 3 days, participants will be working together to grow their entrepreneurial ideas and share valuable knowledge from some amazing mentors.
